GAS用のSlackApp(アプリ)の作り方・OAuthScopeの設定方法も紹介
 悩む男性
悩む男性Slack Appってどうやって作るんだろう?
Slack App(以後Slackアプリと呼ぶ)を使えば、GmailをSlackに通知できたり、チャンネルを自動で作ったりできて便利ですよね。
このページでは、Slackアプリの作り方の手順とUser TokenとBot Tokenの違いを解説します。
社内で工数かけずに実現したい場合は「スプレッドシートをGASで自動化する開発サービスの詳細」をご覧いただき、ぜひお問い合わせください。
自動化実績100件以上の自動化ドットコムにお任せ
\ 社内共有に使える事例掲載中 /
\ 3時間以内に返信します /
目次
Slackアプリを作る手順
STEP
[Create New App]をクリックする

Slack API: Applicationsのページの右上にある[Create New App]をクリックします。
STEP
[From scratch]をクリックする
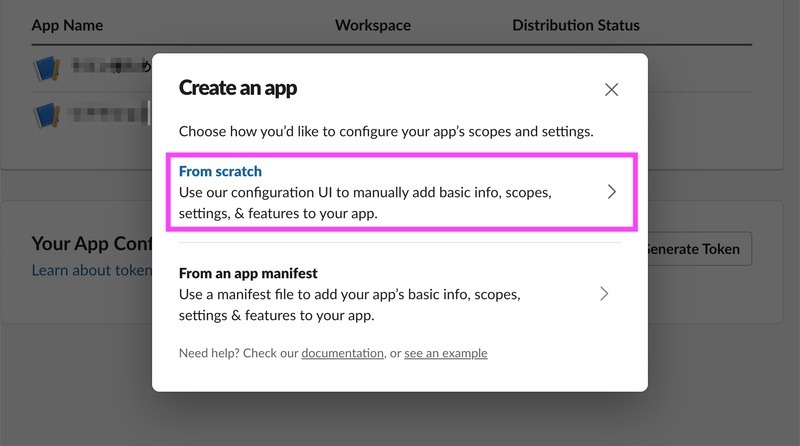
[From scratch]をクリックします。
STEP
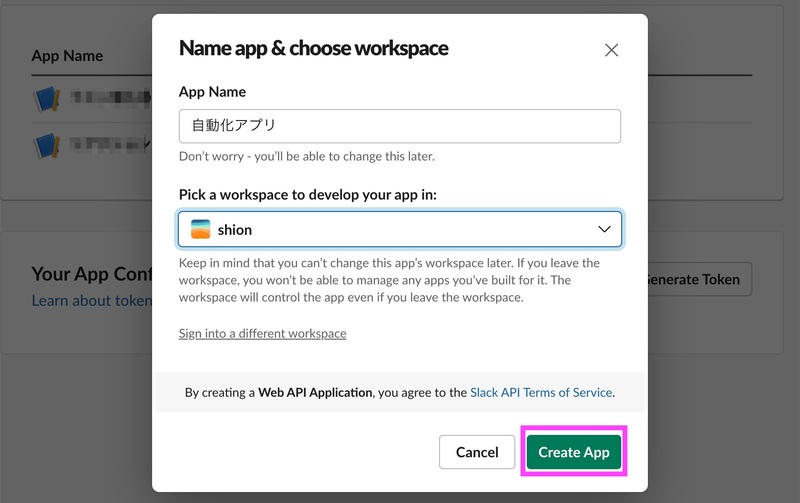
アプリ名を入力し、ワークスペースを選ぶ
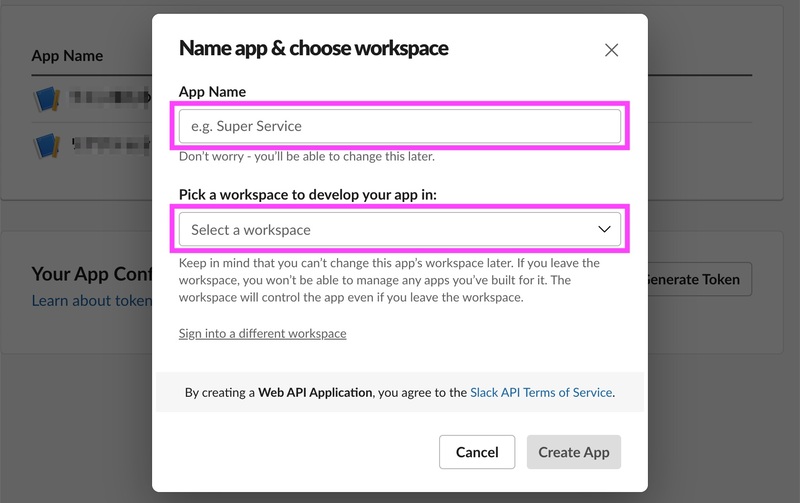
以下の2つを設定します。
| App Name | これから作るアプリの名前 |
|---|---|
| Pick a workspace to develop your app in: | アプリを入れるSlackのワークスペース |
アプリ名はあとで変更できます。
▼入力が終わったら[Create App]をクリックしましょう。
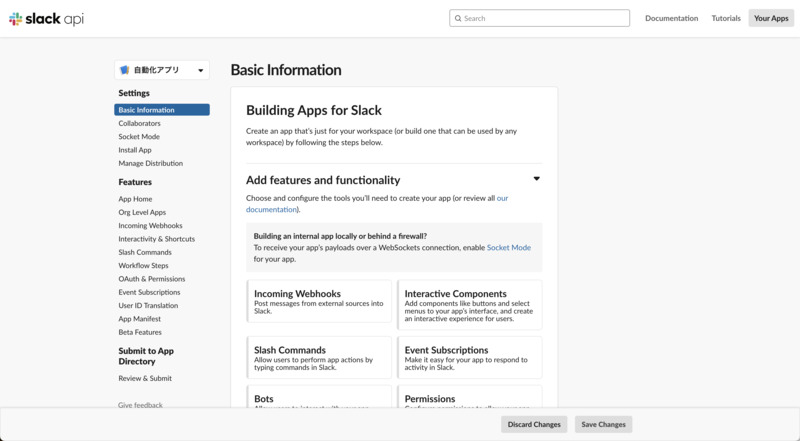
▼アプリが作成されたら、以下のような画面が開きます。
STEP
[App Home]→App Display Nameの[Edit]をクリックする
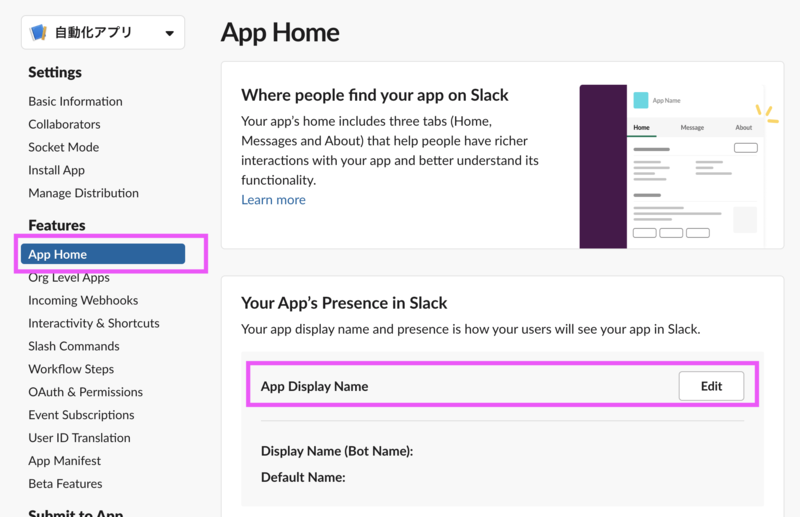
左側のメニューの中から[App Home]をクリックします。
[App Home]の中のApp Display Name欄にある[Edit]をクリックしましょう。
STEP
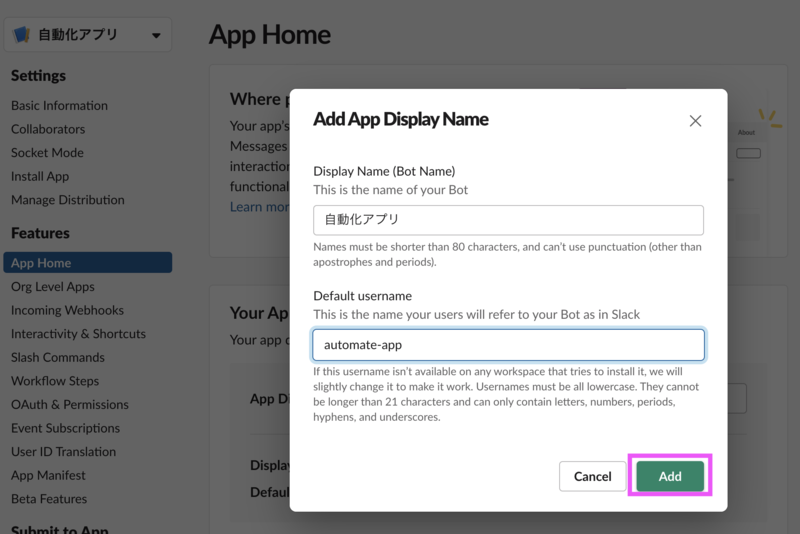
[Display Name]と[Username]を入力し[Add]をクリックする

[Display Name]と[Username]を入力します。
| 設定事項 | 内容 | 命名規則 |
|---|---|---|
| Display Name | Slack上でのアプリの表示名 | 80字以内 日本語OK アポストロフィーとピリオドは使える |
| Username | アプリに割り振られているユーザー名です。 適当で問題ないですが、アプリの内容を表したものにしたほうがわかりやすいと思います。 | 21字以内で以下のものを含められる。 半角英字(小文字) 半角数字 ピリオド ハイフン アンダースコア |
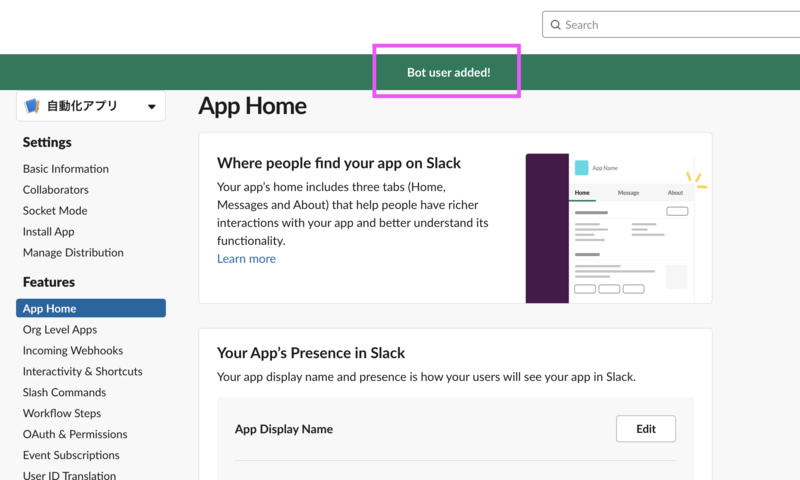
▼入力が終わったら[Add]をクリックしましょう。
▼設定が終われば「Bot user added!」と表示されます。
STEP
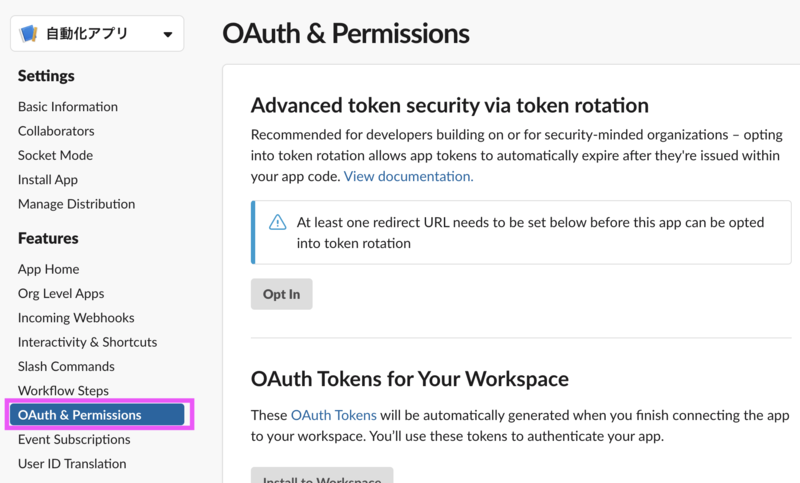
[OAuth & Permissions]をクリックする
▼左側のメニューから[OAuth & Permissions]をクリックします。
STEP
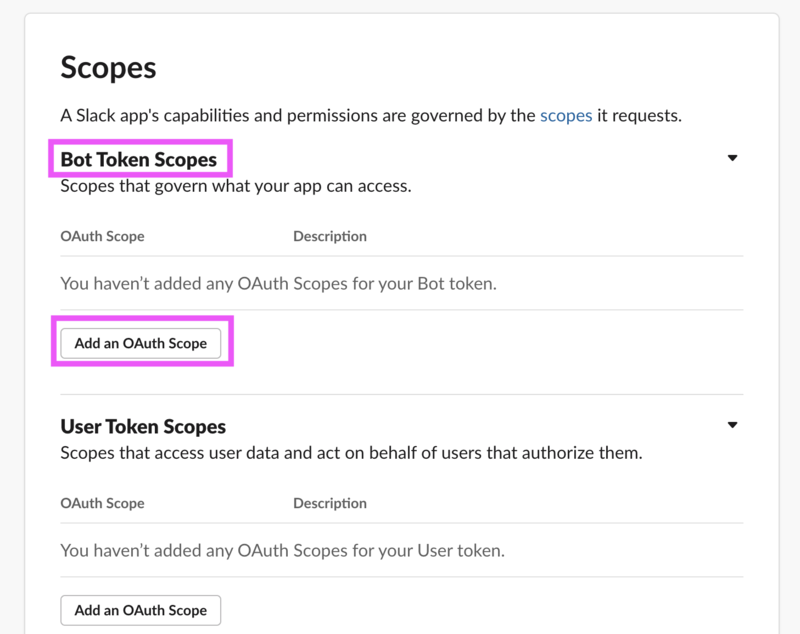
[Add an OAuth Scope]をクリックする
Scopes欄で、目的にあったTokenのScopeを設定します。
Tokenは2つあり、どちらを使うかは目的によって異なります。
Bot TokenとUser Tokenの違い
| Bot Token | ボットに実行させたい場合 |
|---|---|
| User Token | ユーザー自身が実行する場合 |
▼実際に、Bot TokenとUser Tokenをそれぞれ使って、Slackに文字を投稿してみました。
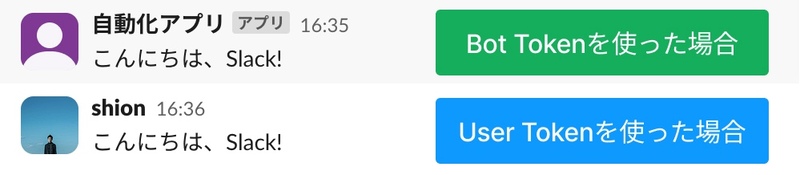
- Bot Tokenの場合:Slackアプリが投稿者になる
- User Tokenの場合:ユーザーが投稿者になる
今回はBot Tokenを使うと仮定して解説を進めます。
▼Bot Token Scopes欄の[Add an OAuth Scope]をクリックします。
STEP
必要なScopeを選択する
必要なScopeを選びましょう。やりたいことに応じて、必要なScopeが異なります。
どのScopeが必要かは、Google検索もしくは生成AIに質問すると良いと思います。
(参考:Slack API「Permission scopes」)
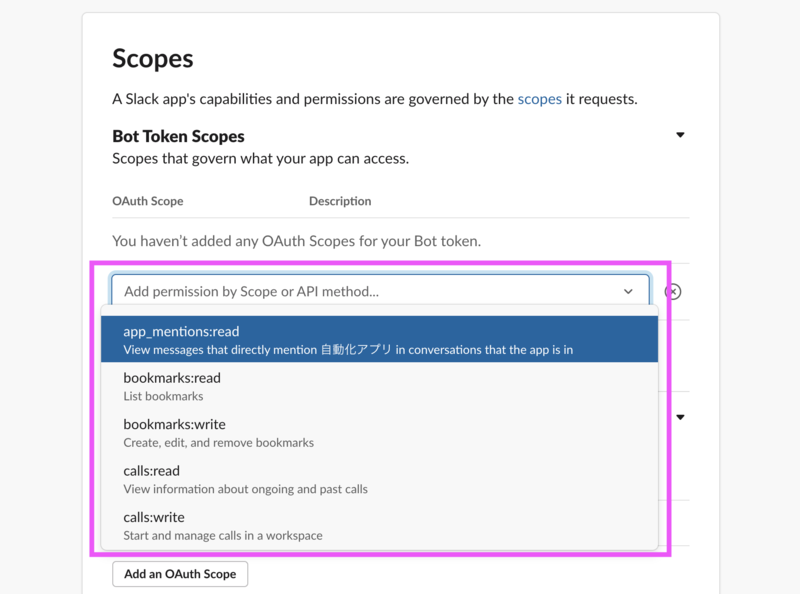
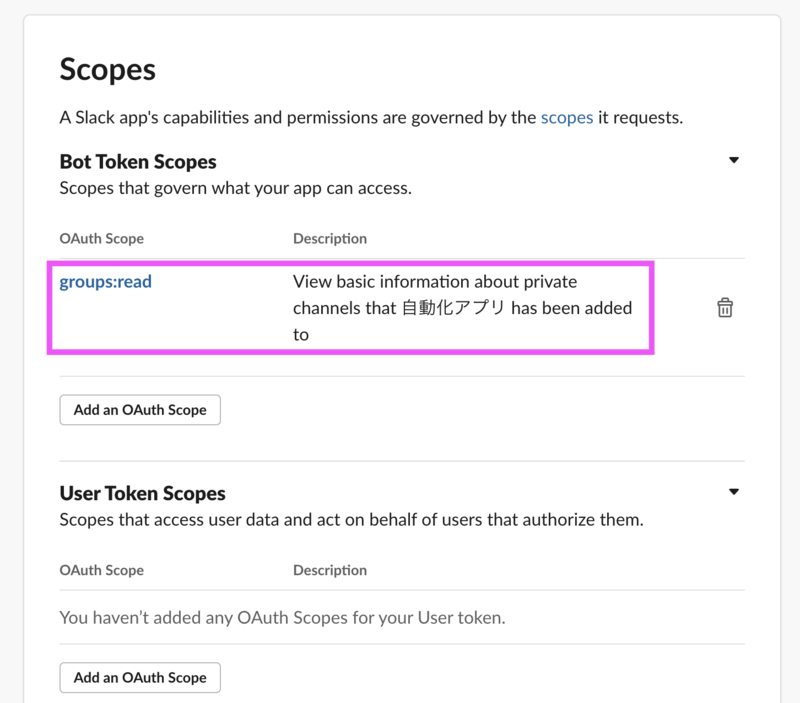
▼Scopeが追加されるとこんな感じになります。
STEP
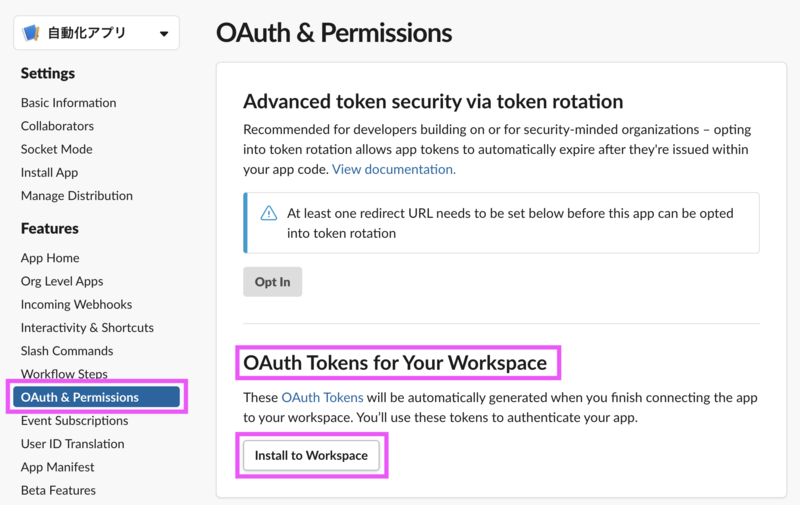
[Install to Workspace]をクリックする
▼同じページにある[OAuth Tokens for Your Workspace]欄の[Install to Workspace]をクリックします。
STEP
[許可する]をクリックする
▼[許可する]をクリックして、ワークスペースにアプリをインストールします。

画面上部に「Success」と表示されれば、インストール完了です。
このとき表示される「Bot User OAuth Token」は、GASのコーディングで使います。

さいごに
今回の手順で、Slackアプリがつくれます。
Slack App作成の手順の中でうまくいかないことがあれば、他の読者の方々の参考になるので、このページのコメント欄に投稿いただけると大変ありがたいです。
自動化実績100件以上の自動化ドットコムにお任せ
\ 社内共有に使える事例掲載中 /
\ 3時間以内に返信します /